How to install drawer slides?
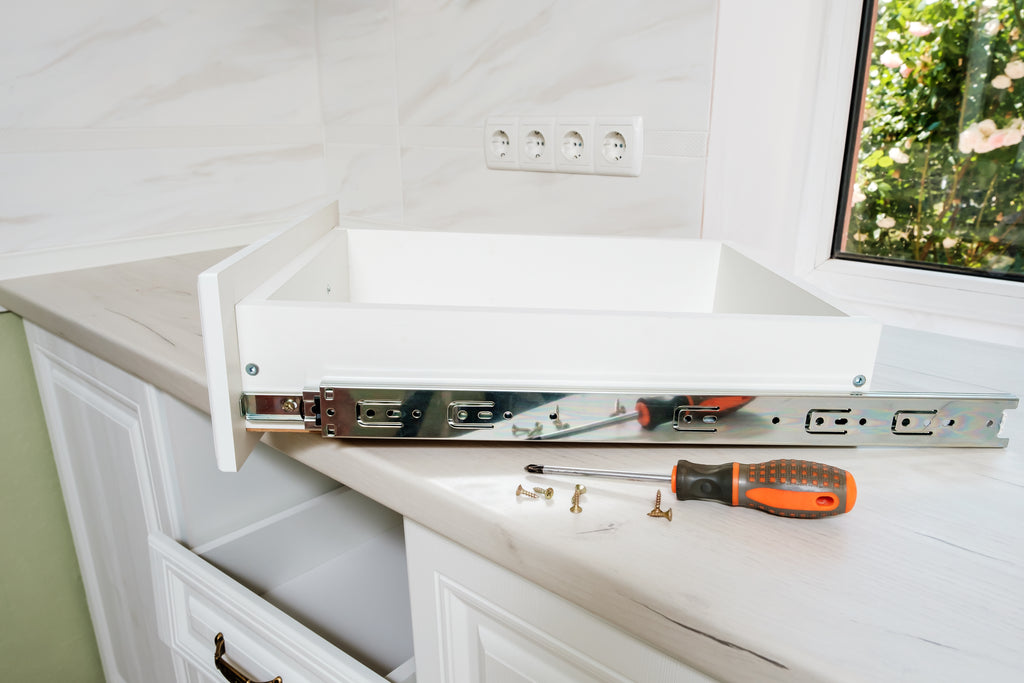
TABLE OF CONTENTS:
- How to install slides - ball bearing and roller runners
- How to repair and install slides? Basic tool kit
- Fitting drawer slides - step-by-step process
- How to measure a drawer and install drawer runners?
- How to drill holes when installing drawer slides?
- Installing the drawer runners
- Try out your new drawer!
- Runners are not everything - how to install drawer fronts?
- Drawer and cabinet slides - what else is there to remember and which drawer slide to choose?
Creating your own drawer is a great way to get a completely unique piece of furniture that looks exactly the way you want it to. In this type of DIY work, the technical aspects often cause many problems. Installing a drawer runner is a perfect example of this. However, as you will see in this article, there is actually nothing to fear. How to mount drawer slides - quickly, easily, and reliably? Check it out!

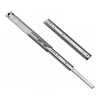
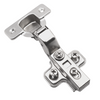
How to install slides - ball bearing and roller runners
There are two main types of slides. It's useful to know the difference between them so you can choose the right product for your project and prepare for installation.
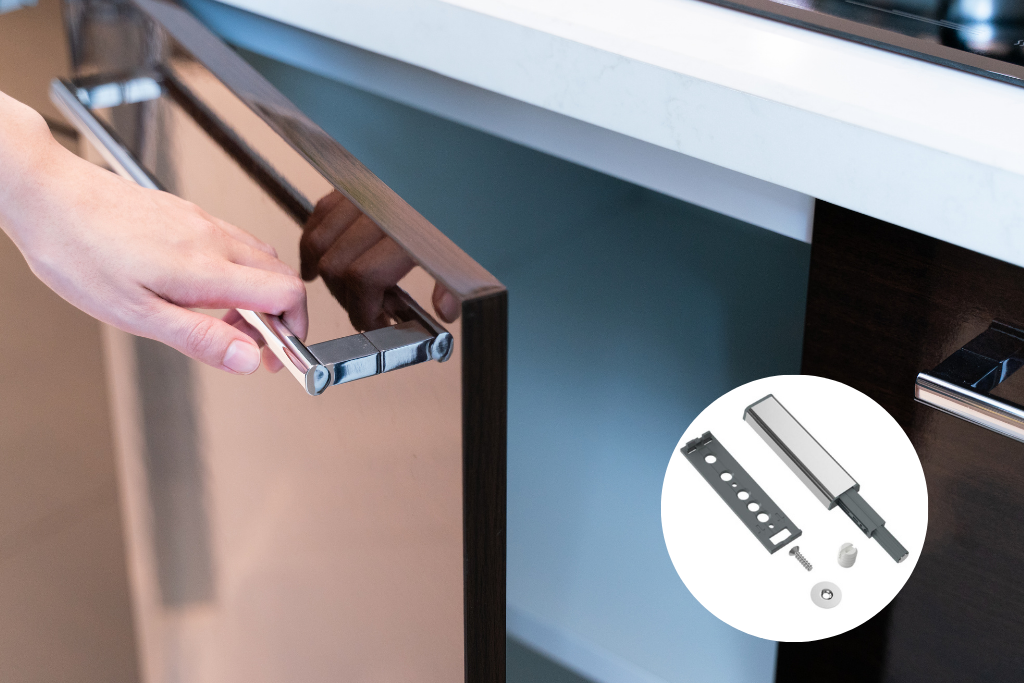
Ball bearing slides for drawers seem to be the most popular. The high loading capacity means that they are commonly used for kitchen drawers as well as wardrobe drawers and even workbench drawers. It is also ideal for those looking for a more aesthetically pleasant solution - direct attachment to the bottom of the drawer makes the element less noticeable. When it comes to ease of installation, however, roller slides are the favourite. They are quick to install, tend to be the cheapest, and work well mainly for small drawers. The roller construction means that the maximum drawer extension can often be longer. However, these models usually offer a slightly lower maximum load capacity.

How to repair and install slides? Basic tool kit
Installing runners and creating your own drawer is not that difficult. You will, however, need some reliable tools. Make sure you have the following:
- mounting screws (less often nails),
- drill ,
- spirit level,
- pencil and ruler,
- wood glue and furniture clamps (if you need to attach the drawer front at once).
Fitting drawer slides - step-by-step process
It's a good idea to plan everything carefully at the outset before you start installing the drawer runners. If you want to attach a runner to a drawer, you probably already have a wooden or metal frame and slides - ball or roller. In any case, the entire process of installing drawer slides will be limited to the following steps:
- Measuring the drawer,
- Marking the location where the drawer runner will be positioned,
- Creating the mounting holes,
- Attaching the slides to the furniture,
- Attaching the slides to the drawer,
- Positioning the slides,
- Inserting the drawer,
- Attaching the front panel.

How to measure a drawer and install drawer runners?
Installing a runner in a drawer starts with measuring. First you need to determine the height at which you want to install the slide. Typically this is about 3/4 of the height of the drawer, measured from the bottom. Draw a horizontal line across the sides of the drawer on each side of the inside of the furniture. You will need three tools for this: an easy-to-grasp pencil, a ruler, and a handy slide to check that the line is straight (make sure beforehand that the piece of furniture doesn't have any excess slant in the different parts either). After marking the line for the runner you should also mark the insert for the thickness of the front, if it is going to be installed.
How to drill holes when installing drawer slides?
Align the slide, making sure everything is level, then pick up the slide. Slide it out smoothly until you can see all the screw hole sets. Align the slide with the line previously marked on the inside walls of the drawer and mark the mounting holes with a pencil.
In most cases, but not all, you will need a drill. Drill shallow holes, taking care to ensure safety. A dedicated wood drill will work best, but a universal drill may also work. Mounting screws should be included in the kit. These will help you mount the runner to the inside of the drawer. Remember to mount the screws firmly but not with excessive force as this may deform the metal of the slide which will result in an unstable drawer and opening problems. Once you have completed all the steps, repeat them for the other side of the furniture.

Installing the drawer runners
At this point it's time to install the second part of the slides, which we do directly into the insert section of the drawer. Again, make sure the measurements are correct and even. Gently remove the detachable part from the slide, to attach it to the inset. Align the slides so that they are on the correct line, flush with the surface of the side slides already installed to the furniture. Further stages of assembly involve virtually mirroring those already carried out. However, care should be taken to ensure everything is even - don't press the mounting screws for the slides onto the inset piece straight away.
Try out your new drawer!
Once you have mounted the slides on all sides it is time to check that everything works. Try inserting the drawer into the furniture, slowly orienting the slide into the slides mounted inside. Securely place the ends of the runners, which are attached to the drawer, into the runners on the inside of the furniture. Do not hesitate to gently press down on both sides and push the drawer a little, especially at the beginning, so that the runners can engage with each other.
A correctly fitted drawer should slide in and out smoothly, gently. Make sure the runners support the drawer properly and that it closes all the way.

Runners are not everything - how to install drawer fronts?
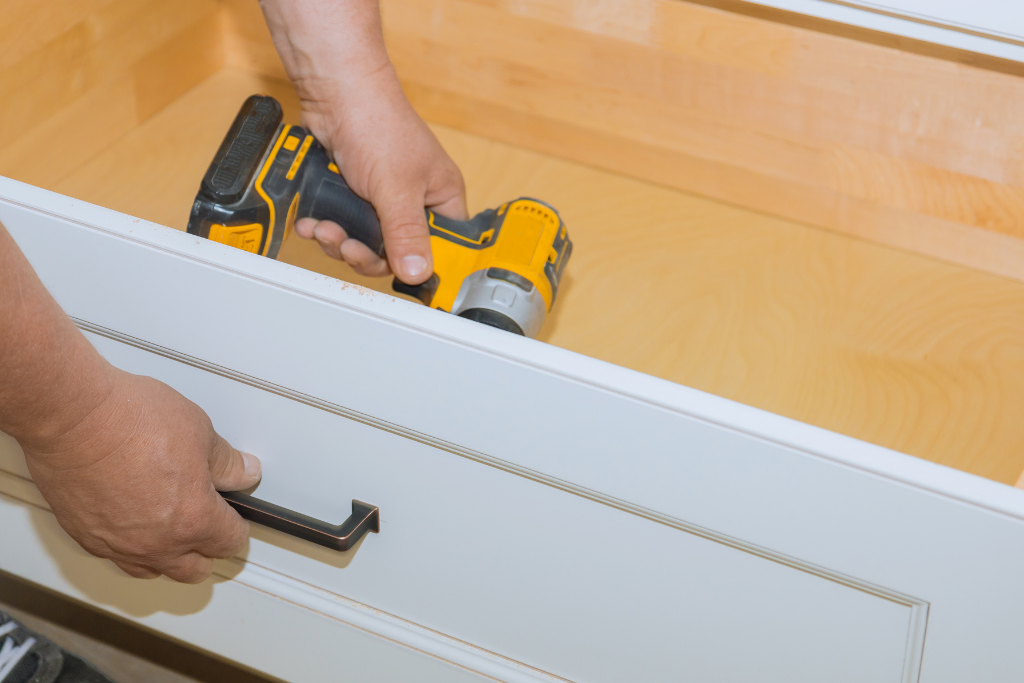
If you install the drawer runners yourself, you will probably also need to mount the drawer or cabinet fronts. To do this you will need wood glue, which should be smoothly applied to the contact area. It is a good idea to lay the front on it beforehand to check that all the pieces will fit together, or if you need to profile it to get rid of any rough edges. When the drawer is closed, the front should be positioned with equal distances to the top and side edges. The front panel should be fixed to the cabinet with special furniture clamps, which will hold it in place for exactly as long as needed (depending on the type of glue, this may even be several days).
Drawer and cabinet slides - what else is there to remember and which drawer slide to choose?
Fitting most types of commercially available drawer and cabinet slides is usually not a difficult task. The most important part of the process is measuring, because if one side is mounted higher or lower than the other, the whole thing won't run smoothly.
Choosing the type of slides can be a much bigger dilemma. The following factors may be worth considering in this respect:
- Maximum drawer load capacity - this simply states the maximum weight a particular set of slides can carry; choose a different type of slide for a wardrobe, workshop or kitchen drawer to hold heavier items, and another for a cutlery drawer,
- Maximum drawer extension - means the degree of pull-out movement beyond the furniture body; in ball-bearing slides the extension is usually not the maximum for design reasons, while some roller slides are built to allow the item to be pulled out fully and safely,
-
Additional slide functions - the most popular feature is undoubtedly the soft close option, which means that the drawer automatically slows down as it closes, causing it to close quietly even if there is any sudden movement.

Find the best drawer runners at Furnica now! With us you will find all kinds of drawer runners, whether for the home, office or warehouse, in a wide range of sizes and technical variants.
- Furniture accessories blog
- 18 May, 2021


Recent Posts
-
-

-
What should I consider before buying bathroom cabinet?
08 February, 2023
-
-
-

-
How to install gas struts?
09 November, 2021
-
-
-

-
How do push-to-open latches work?
06 October, 2021
-
-
-

-
How do I fit a furniture lock to a cabinet?
06 October, 2021
-
-
-

-
How to install cabinet handles?
06 October, 2021
-
-
-

-
How to install cable grommets?
08 July, 2021
-
-
-

-
How to hide screws in wood?
08 July, 2021
-
-
-

-
How to install the claw nuts commonly called T-nuts?
08 July, 2021
-
-
-

-
What are confirmats?
20 May, 2021
-